Condo and Apartment Drywall Repair in Pikesville
A condo is a wall that other people also care about. When something fails inside your unit, the repair has to fit around neighbors, building rules and shared hallways, and we plan every visit with that in mind.
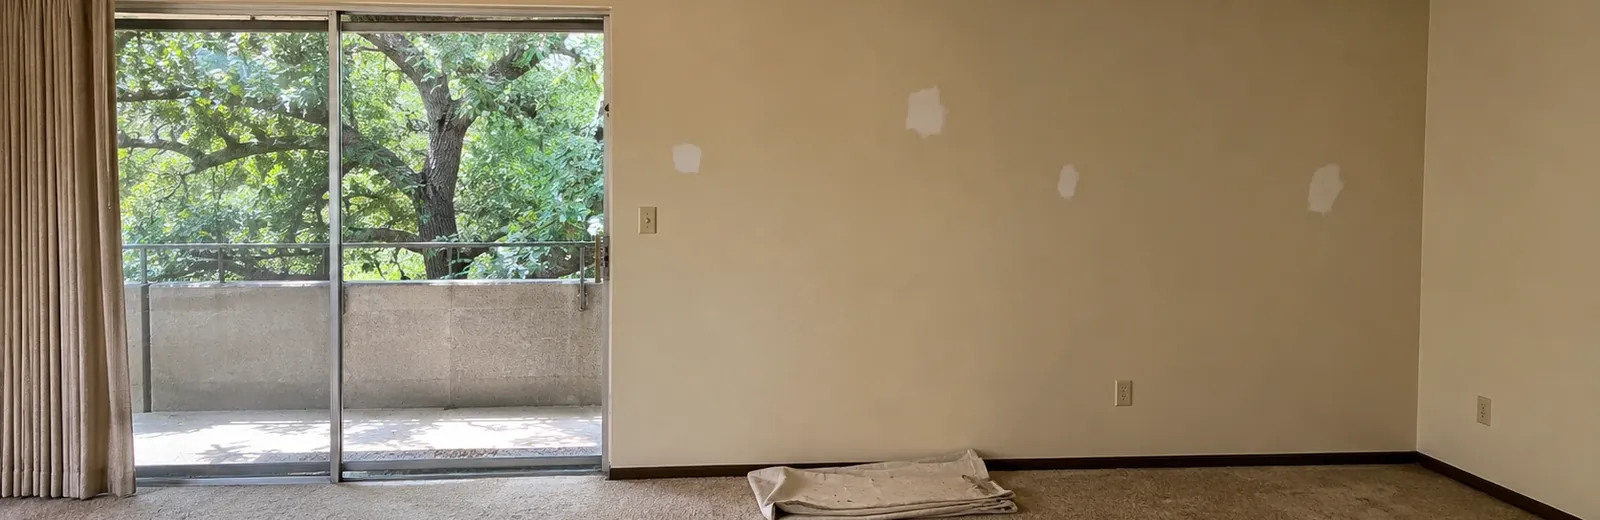
Why a building changes the job
First, a plain explanation of why a condo repair is different from a house repair. In a house, the only people affected by a ladder and a bucket of compound are the people who live there. In a building, the same work touches an elevator, a hallway, a loading door and sometimes a management office that wants to know who is coming and when.
So before we pick up a tool, we ask you three things. When is it quiet enough to work? Does the building want notice, and for how long? And where may we carry materials, so that nobody has to step around a bucket in a shared corridor? Notice that none of these questions are about drywall. They are about being a good guest, and getting them right is half of the visit.
Property-record data suggests condos make up roughly a quarter of the homes in ZIP 21208, which is why this is not an unusual request in Pikesville. Plenty of owners have gone through it, and the steps are usually the same from one building to the next.
Signs a unit needs attention
- A brown or yellow ring on the ceiling that grows a little after each heavy rain or each time the neighbor upstairs runs a bath.
- Paint that bubbles or peels in a patch, usually on the ceiling or high on an outside wall.
- A ceiling that feels soft or looks slightly sagging, like a mattress that has lost some stuffing.
- A hairline crack that runs from a door corner toward the ceiling.
- A hole left behind by a removed wall mount, a moved doorknob or an old access cut-out.
The leak from the unit above
This is the call we hear most often from condo owners, so here it is step by step. Water comes from a pipe, a tub seal or an appliance in the unit above. It runs along the top of your ceiling and soaks the paper face of the board, the way a paper towel pulls up a spill.
Then the board softens, the paint loosens and a stain appears. Why does the stain matter so much? Because paint is only the skin. If the board underneath stays wet or stays soft, a patch on top will crack again.
Finally, here is the order of things that usually works best. The leak itself must be stopped by whoever owns the pipe, and the building or the neighbor's plumber normally handles that. Only then do we cut out the damaged section, let the framing dry, and rebuild the ceiling. If you suspect mold, a qualified specialist should look at it first; we repair the board, we do not treat mold.
Keeping dust inside your unit
Sanding drywall compound makes a fine white powder that behaves like flour in a kitchen: it drifts to every surface unless you stop it. Our routine is to hang plastic sheeting across the doorway of the working room, tape it at the edges, and lay floor covering from your front door to the work area.
Then we sand with tools that catch some of the dust as it is made, and we wipe and vacuum before we lift the sheeting. Nothing is carried through a shared hallway uncovered, and we take our trash with us instead of using the building's bins unless you say that is fine.
What we check when we arrive
- The size of the wet or damaged area, by pressing gently and looking at the edges of any stain.
- Whether the board is paper-faced drywall or something older, since a patch must match what is there.
- Whether a wall or ceiling may be part of a fire-rated assembly (a wall built to slow the spread of fire between units), which we confirm with the building before cutting.
- What lies behind the damage: pipes, wires or a vent that we must work around.
- How the finished wall will be painted, so we know how smooth to make it.
Before we arrive
- Tell your building office or board that a repair visit is planned, and ask about quiet hours.
- Move furniture away from the damaged wall, or tell us and we will move it carefully.
- Take photos of the damage and note any date the leak was last seen.
- Make sure the water source above has been stopped before we start.
A few quick questions
Do you need the building's permission to work in my unit?
Many buildings have their own rules for contractors, such as quiet hours or a notice period. You know your building best, so we ask you to check, and we then plan around what you learn.
Who pays when the leak came from the unit above?
That depends on your building's rules, your insurance and the other owner, and we cannot decide it for you. We can write down what we found and what the repair involves so you have something clear to share.
Can you fix the ceiling before the leak is stopped?
We would rather not. First the water has to stop, otherwise the new board gets wet and the work is repeated.
Will dust get into the hallway?
We contain the work room with sheeting and cover the path to the door, so dust stays inside the unit.