Drywall and Plaster Wall Repair for Pikesville's Mid-Century Homes
Houses from the middle of the last century were built with walls that behave a little differently from today's. The first job, before any repair, is simply finding out what your wall is made of.
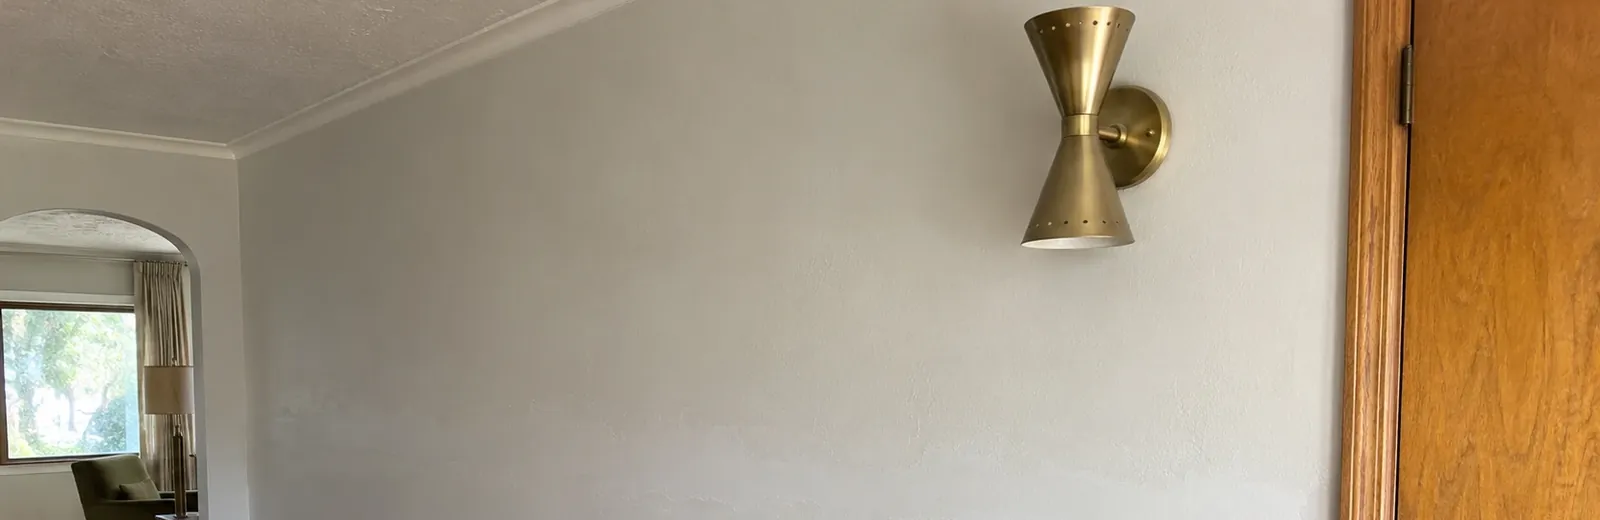
Step one: find out what the wall is
Houses from the 1940s through the 1960s may have plaster walls, early drywall, or a combination, and sometimes you find all of them in a single house. Plaster is a hard, cement-like layer troweled on over a backing, which could be thin wooden strips or a metal mesh. Drywall is a factory-made sheet with a paper face and a gypsum core.
Why does this matter? Because a patch has to be made of something that behaves like the wall around it. Press a soft cookie into a hard cracker and the edge will always show. We tap the wall, look at the thickness at an outlet opening, and check how it was finished, and then we choose a patch to match.
We speak generally here on purpose. We do not assume that any particular street or builder used one method, because in these houses that is rarely true. Each wall earns its own answer.
What mid-century walls usually do
- Hairline cracks that follow the corners of doors and windows, where the house flexes most.
- Long straight cracks along ceiling lines, where one surface meets another.
- Slightly wavy surfaces, because hand-troweled finishes are rarely as flat as a sheet.
- Several layers of old paint that fill the cracks and then reopen them.
- Old patches from earlier repairs that now show up as dull or raised spots.
How we repair, in order
- First we look and tap to learn the wall type, and we note the paint and any wallpaper.
- Then we open up cracks slightly so the compound can grip, instead of just painting over the line.
- Next we bridge the crack with tape, which works like a stitched seam.
- After that we apply thin coats of compound, letting each one dry before the next.
- Finally we sand smooth, prime the repair, and hand the wall back ready for paint.
A note on cracks that keep coming back
Here is a normal question: why does the same crack return each winter? The Baltimore area has humid summers and winters that swing above and below freezing, so a house expands and settles across the year. A rigid patch over a crack that moves will often show a line again.
That is why we choose tape and compound that can flex a little, and why we sometimes suggest waiting for a dry stretch before a patch is painted. If a crack is wide, uneven or keeps growing, we will tell you plainly that a structural question may come first, and that a qualified person who looks at foundations should see it before we finish the surface.
Before we arrive
- Take a close photo of each crack, with a coin or ruler beside it for scale.
- Note whether the crack has grown since you first saw it.
- Let us know if you think there may be wallpaper under the paint.
- Clear a path to the wall so we can set down floor covering.
A few quick questions
Can you tell whether my wall is plaster or drywall?
Usually yes, by tapping, looking at an opening such as an outlet, and checking the edges of the damage. A hidden section can still surprise us, and we adjust the repair when it does.
Will the patch match my old walls?
That is the goal. We match the texture and the paint sheen as closely as we can, but old paint ages, so a fresh coat across the whole wall gives the most even result.
Do you replace a whole plaster wall?
Most repairs are local. If a wall is damaged across most of its area, we will explain the choices before doing anything.